Hello, everyone, I am back with another article, and this time, I will walk through the steps to creating a virtual disk or server. For this article, I will be using a Ubuntu Server, for example, make sure you download the proper format. The format you are looking for is ‘.iso’.You can download the ‘iso’ file using this link. If you are done downloading the .iso file(which will be about a GigaByte or so)follow the below steps:
Setting up the Virtual Disk
First, you will be needing a Virtual Manager. I will be using Oracle Virtual Box. Then click the new option in the top left.

Then enter the name of the OS. If Virtual Box does not choose the OS based on the name you have given choose the OS and select the type of OS.

Select the memory size you want. I am going with the default 1024MB(1GB)

Then create a new virtual hard disk.

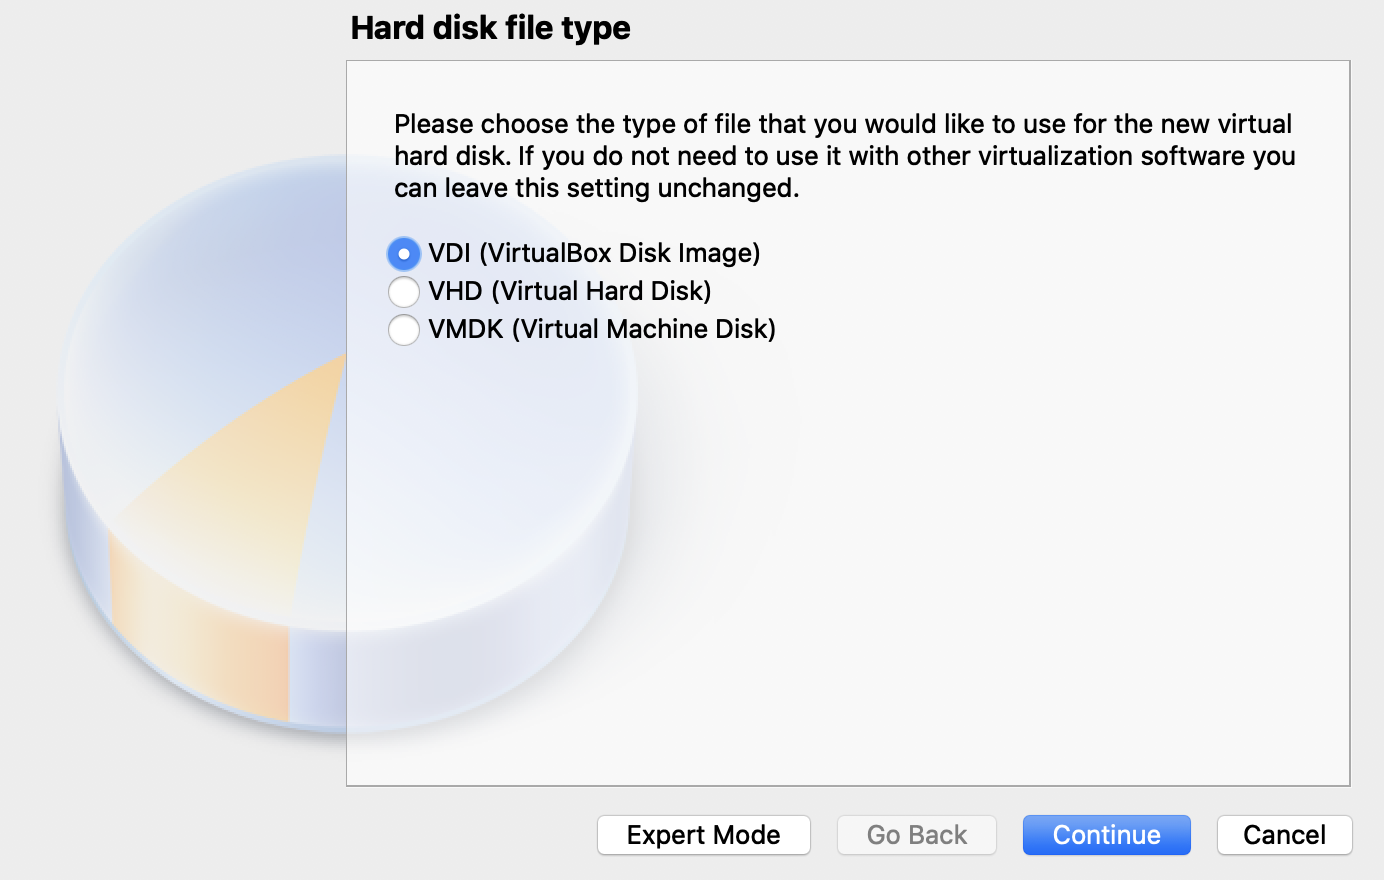
Select the VDI file type.

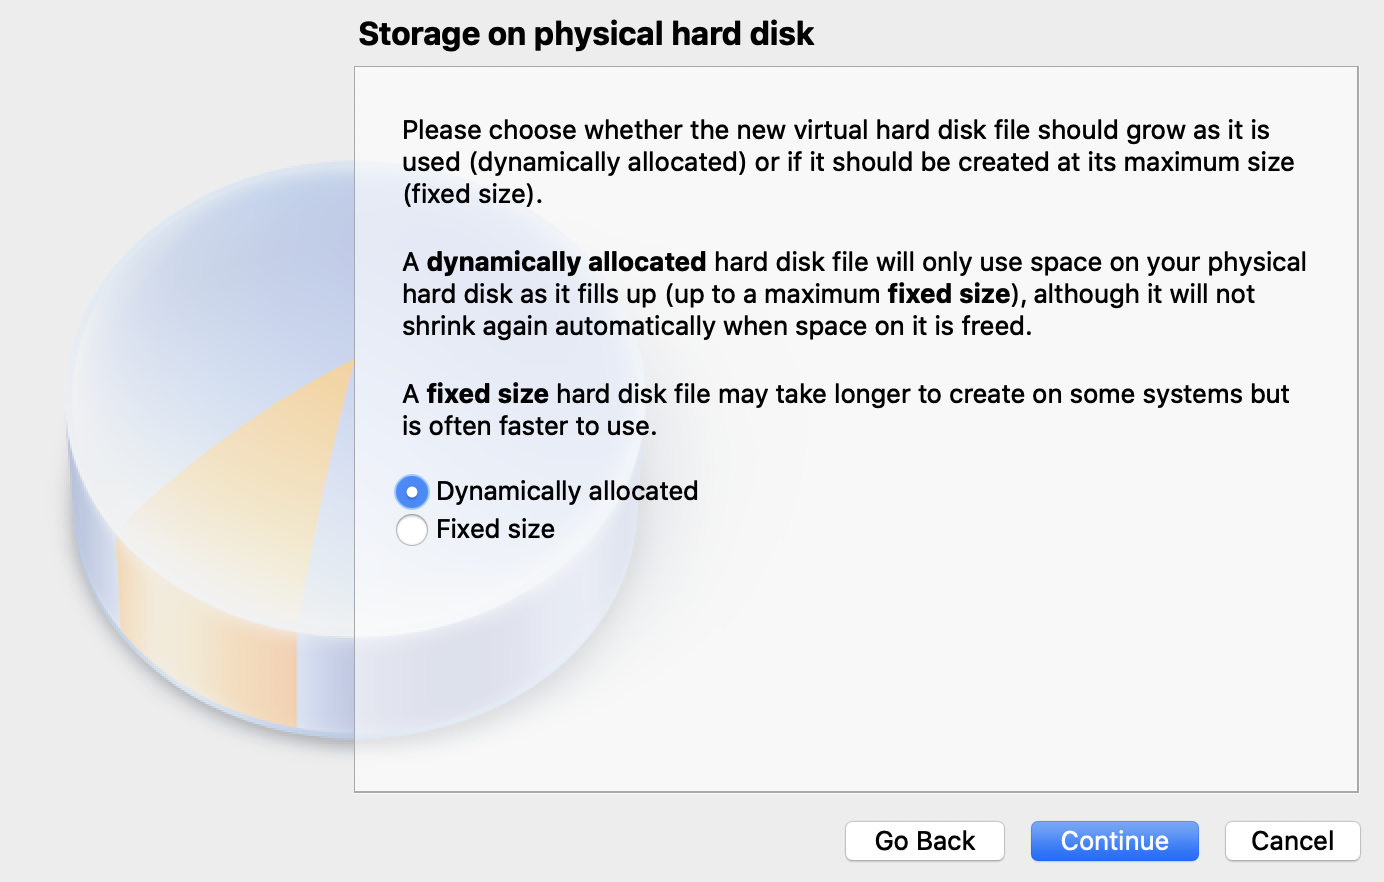
Select Dynamically allocated so that the virtual disk does not take up the 10 GB of space when it is shut down.

Now just leave the defaults and click create
Configuring
Double click the created virtual disk.

This is will prompt you to select an optical disk which is the iso you downloaded at first. You can choose it by clicking the folder icon on the right.

Then the OS will start up and take you through the steps to configure it.
Using the server in your local terminal
If you are using the server I have used for this article you can also use the server from the local terminal. If you are looking for that follow the below steps
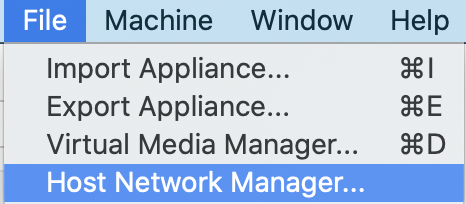
Click on Host network manager under the ‘File’ category

Then create a new Adapter
Then go to the VM’s settings
Then go to the Network tab.
Enable Adapter 1.

Choose the Bridge Adapter
Enable Adapter 2.
Choose Host-Only Adapter.
If this gives an error like this it means you have not done Steps 1and 2 correctly.
You don’t get that error you have configured the VM successfully.

Now open the server and execute this command.
ip a | grep inetThis will display the IP address of the VM. You can find it in the 7 lines from the bottom
Then open a local terminal and execute the following.
ssh username@ip_addressThis is will let you access the IP address from the VM.
Then type yes to enable the bridge
Now all the things will work if you have done the steps correctly.
If you are not aware of the commands in a Server like this, check out this article.
Leave a Reply